Pages


10/13/15

Halloween Candy Containers

I was wanting a little project to work on while sitting and watching listening to the television... and since Halloween is fast approaching I thought I would try my hand at making a pumpkin Squeeze 'em. Surprisingly, I have never made one.
I found a Jack-O-Lantern Squeezum pattern that someone had uploaded to pinterest. (I have 55 Squeeze 'Em patterns on Pinterest, you can find them here) I decided to add a fabric leaf and some green pipe cleaner tendrils to my pumpkin- so I modified the pattern to create a triangle shape at the top and not the actual "stem" that is on the pattern. It is just a personal choice as I find over time as the plastic canvas gets brittle those little bits are the first to crack and break off.

It was a fun little pumpkin to make....
 so, I made 29 more.
My granddaughter and I are filling each one with candy so she can pass them out to her classmates. I had ever intention of making a total of 60--- but my grandson didn't want any for his classmates. I guess they don't stay "little" for long do they. *sigh*
big hugs,

9/30/15

Silversmithing Project Finished

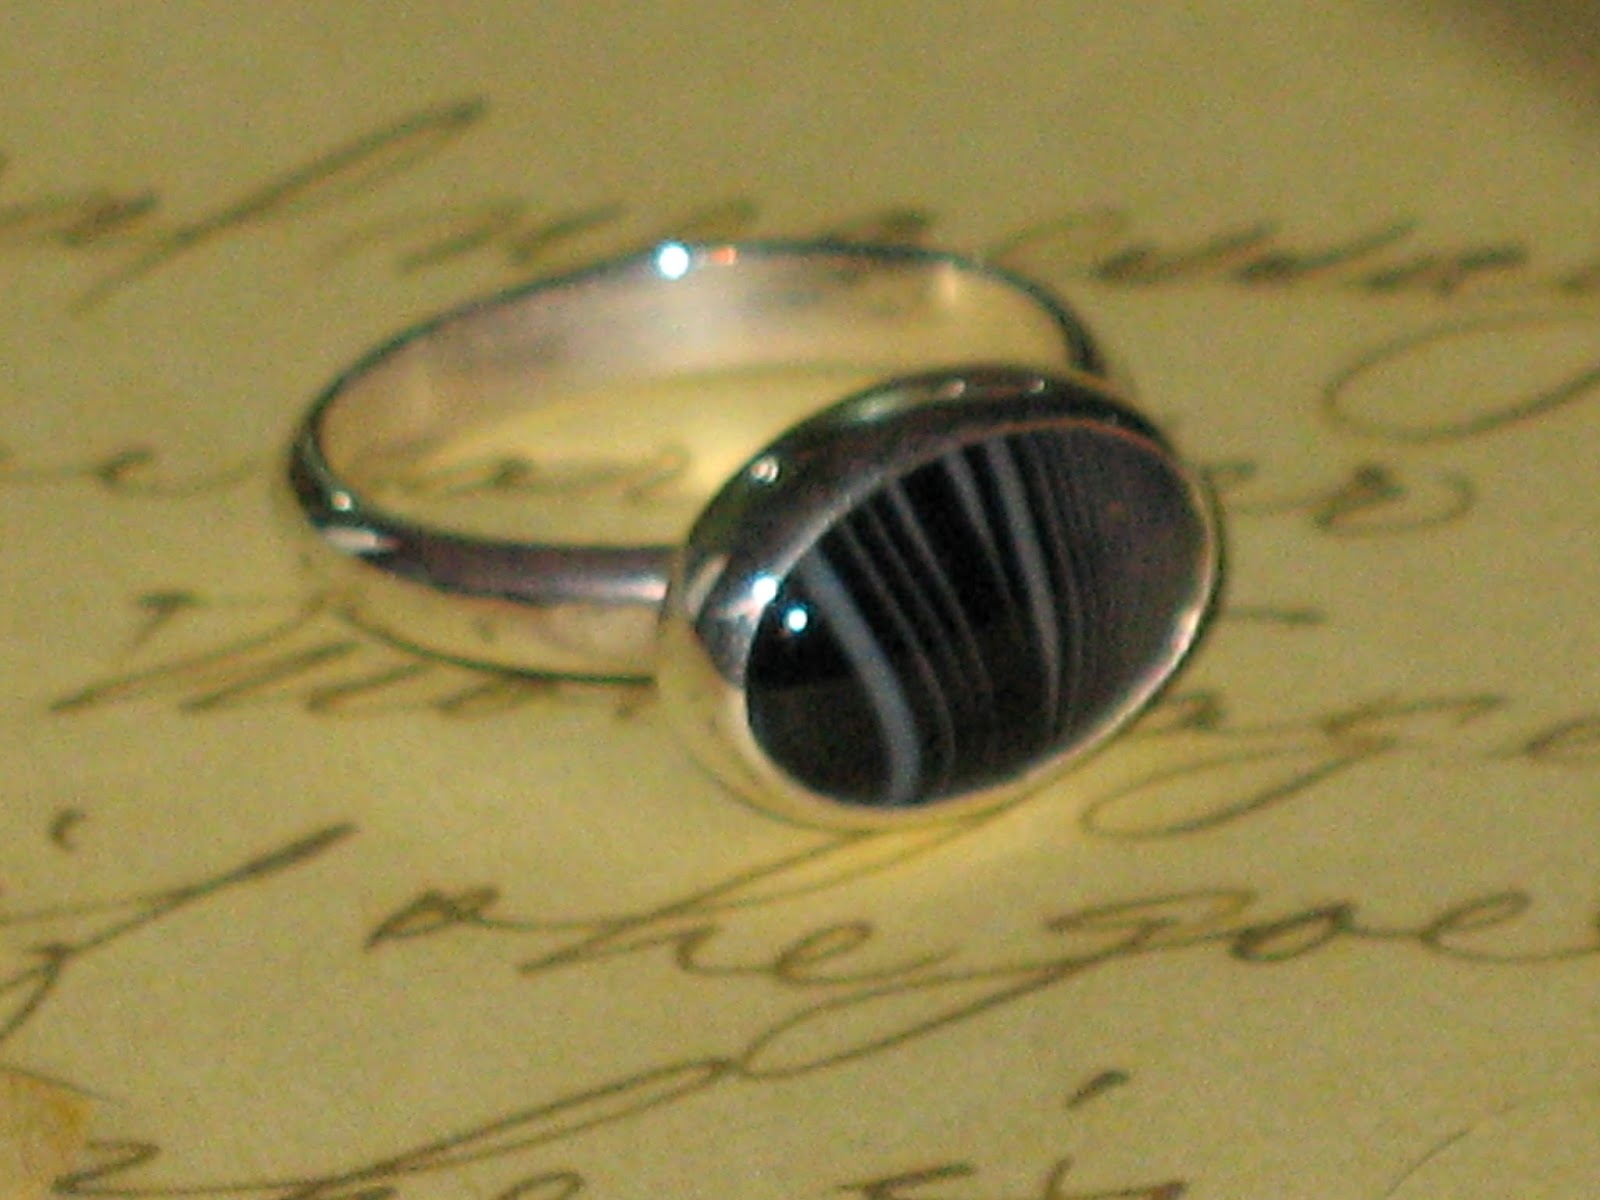
Here is my first finished project that I made in my Silversmithing class.
 Hard to believe even for me that this was created out of flat pieces of sterling silver. It was a fun project to learn the basics of silversmithing... even though the classes were a little slower than I would have liked.
There was only one thing that was difficult to do and that was sitting down at the table with  "dun-dun-dun" the torch. *gasp* I am sure at some point I won't be intimated by the possibility of blowing up... that is my hope anyway. Everything else, I enjoyed thoroughly. The one thing I enjoyed the most was making the bezel that holds the stone that sits on the ring. I liked the idea of using the softer sterling silver for surrounding the cabochon.... and being vewy-vewy careful with it. Then sanding and polishing away the seam between the bezel sides and the bottom piece. Magic. Here you can see my sawing skills... look at how close I cut that baby. Mad skills people-- mad skills~
The Silversmithing class is taking a little break until the beginning of November, so I have some time to come up with some items I would like to make for my next project.
We were told to come up with at least three projects, I already have two ideas in mind, and I'll probably make multiples of each one-- because if you know me, that's how I roll~ 
big hugs,

9/27/15

Treasures

Its been kinda slow finding treasures lately... Here are a few weekends worth of treasure hunting combined~ The only time I pass up seashells is if they are priced to high. I paid $3 for all of this loot below. The little wooden bucket doesn't have its lid... but that's alright. The weathered patina this little bucket has is so lovely--- I just might keep it inside my house.
 I find a lot of wooden things relatively cheap. I guess there isn't a huge demand for wooden decor anymore. *wink* (was there ever?)
These were $1.00 each. The original price tag on the two large diamond shaped wooden carvings were $39.99 each...  
More seashells, rocks and pirate stuff.... ok, its all pirate stuff....
I've been adding a lot of Japanese items to my pirate yard too... This little tea pot is charming with its little glass inserts. There is a little damage to it, but it just adds character right? The little fella behind the tea pot looks stunning now that I've painted him gold.
Brass, trays and other odds and ends....
Lastly, a bunch of jewelry that I picked up for $7.00. I've already pulled apart several of the beaded strands to play around with. The white stone beads I'm planning on wire wrapping--- once I feel like doing that again... *yawn*
big hugs,

9/23/15

First Day of Fall

Today being the first day of fall has me excited for colder temperatures.. which is probably very surprising to read for those who know me well. Because I hate to be cold!  For this first day of fall the temperature was 91 degrees....

I finished up two crocheted hats for my granddaughter... but not before making another embossed metal head form. I gave my granddaughter the other one I had made. This one I haven't added any black paint to- to bring out the depth of the embossing. You've got to be in the mood for smearing black paint on things... and well, it just hasn't hit me yet.
We just got back from a week at Disneyland, and we are going back in November... so I thought a Minnie Mouse hat was in order. In pink of course~
I also made her an owl hat in her favorite colors....
She is very sweet when I give her things I've made for her... who knows what she really thinks *wink*
I've pulled out a lot of yarn and patterns and I'm pretty sure by the end of winter my granddaughter will still be pretty sweet when I give her things I've made... while secretly wishing I'd make some for her brother instead. lol
big hugs,
 

9/6/15

Finishing up some Projects

I've been slowly getting back into doing some crocheting. With the morning temperatures getting colder it seemed fitting. Before you know it, it will be full on winter. I finished up a unicorn hat for my grand daughter. I used Repeat crafter me's hat pattern. I have two other hats in different stages of completion....  I like to have several projects going at once, I get bored easily.

I also have been finishing up some things in... you guessed it, my back yard. While watering in the backyard, I was taken by how fabulous this view was... so after I finished watering the plants I snapped a picture. Sometimes I get so focused on doing things that I forget to stop and actually see what I've done.
Pretty cool huh? I also finished up this counter to the right of the shooting gallery. I am also creating a counter to the left of the shooting gallery too-- but that still needs some finishing up.
 
Here is the bottom of the counter. It is a little bit more work and materials to create an opening in each counter, but in the long run it is worth it because it creates another area for displaying things.
I am trying to create new games for the kids to play when they come over. I painted a skull on a magnet dart board.... My grand daughter is a pro at having her dart hit and stick to everything but the magnetic dart board. It is pretty darn funny.... I also created this game called "Put Polly on her Perch" I had bought a bunch of small stuffed-animal birds that will be perfect for this game. I am still wanting to add some greenery around the perch-- but for now the basic game is finished. I have it wired to a vintage bird cage stand. I think this is my favorite game so far...
A few years ago I bought a spinning wheel game for the whopping sum of .50¢ Who is the best shopper, that'd be me... When I bought the spinning wheel-- the entire thing was painted gray... that is as far as they got with it. For .50¢ I was happy to get it! All I had to do was paint it up to my liking. I started by painting the entire thing brown and black to give it more of an old grungy look. I then added some red and white to the wheel and then simply stenciled a skull and a treasure chest to finish it off. I am planning on using this for the kids to spin the wheel to either get jewelry from a treasure chest or a bag of candy with a skull and crossbones on it. That is the general idea anyway...

Besides all of these projects I am steadily working on completing my first project in my Silver smithing class. It is slow going since I have to be patient and wait for one on one teaching time.... I often stop what I'm working on and watch and listen to the teacher teaching someone else... so I get the same "lesson" over and over again. I want to be confident to handle that darn torch- which right now is my nemesis.... Here is a picture of my project, I'm pretty darn proud of the progress on my ring so far. Hard to believe this ring was a straight piece of silver once upon a time. Don't even get me bragging on the silver bezel I've made... The next step is to sand the bottom of the bezel so that the joint isn't visible. After that is finished, I will solder the bezel to the ring and then set the stone in the bezel and polish the heck out of it to finish it up. There is another six weeks of lessons in this session-- I am confident I'll get it finished by then-- plus start on another project to boot. I really-really wanted to take the lost wax class but not enough people signed up to start that up just yet.
big hugs,
 

8/30/15

Mermaid Statue

I bought a resin mermaid statue recently from our local swap meet. Here she is after I painted her... I have been wanting a mermaid for my backyard, and with a lot of little kids about--- it is important that I have a "modest mermaid." You'd be surprised at how many well endowed/nude mermaids I've had to pass up! The tip of the seashell she is holding was broken off. That didn't discourage me from buying it-- in fact, it made it cheaper. *wink* For me, I knew it was an easy fix. I grabbed my favorite, Fix-it-all. It is a really great product that I find super easy to use. Here you can see the repair I made using the patch. It comes in a powder form and you add water to create the consistency you'd like to use. I always mix it up to form a type of clay. It is very much like using paper clay in my opinion.
Once the patch job on the sea shell had dried I began to paint the mermaid. I didn't take a before photo, I was in so much of a hurry to jump into the fun task of painting! The mermaid was the color you see in the previous photos. I used metallic green paints to paint the mermaids skin and tail. For the seashell, I used muted colors so the shell would look as real as possible. I did the paint on the mermaid in layers. This is the first layer before I sprayed it with a clear gloss sealer.

 The next coat was a black wash over the mermaids scales and body. With the previous paint sealed it made it a breeze to do a wash of color over the existing paint without so much as a smudge.
For the mermaids hair I started with black paint and then used different dark colors that I imagined would be in the oceans water to make her hair a little more interesting. I guess you can't do anything wrong with painting a mermaid... since you don't have one to compare it too. Next, I sealed the newest painting I did and began the last layer. I used some shimmering glitter gloss paint to her tail and added some small rhinestones around the scales at her waist and a few on her tail and then some more at the tails tip. One last coat of clear sealer to finish her up. I have plans of putting her in a cage filled with sea shells.... but for now she is just on a shelf.
I've also been working on putting up some outdoor lights in my backyard that tie into the overall theme of my yard. I purchased seven wrought iron lights for the crazy low sum of $20.00. I did have to take the glass out of each one and spray paint them, but that was an easy fix. We had to create a wooden hanging post for each light to hang from... here you can see the two we have started with. The lights have not been wired yet, but in the near future I see it coming together! I'll add some more rope at the top where the lights hang from--- I'm not to thrilled with the rope at the bottom... but from close-up nothing looks good. That's my story and I'm sticking to it.
 I also wanted some mood lighting on the side of my house. This area called for a softer light source. I bought some round wooden tree supports and cut them so that they would only stand six feet high when placed in the ground. I spaced them eight feet apart and I am going to string outdoor cafe lights from the tops of each pole stringing them all together.
 I have also been working on making some outdoor games. Here is a pirate themed ring toss game I've made... It is still needing a little bit more work, but the majority of it is finished.
 
At the top of the ring toss game I have a deer antler, a pulley/hook and a silver candle sconce.

In the middle I have an old pirates cup, a sword handle and a ships cleat... and the extra space is reserved for a hook from some unfortunate pirate who has lost his hand...

at the bottom of this new game... a jaw bone from possibly a cow? and a skull and cross bones.
 I have sooooooooooooo many projects that are in different stages of completion.... and that is just the way I like it.
big hugs,
 

8/18/15

Wire Wrapping Classes

With the new school season starting up, it had me itching to get back to school too! Well, not "school-school" that'd be bore--- ing. But wire wrapping classes! *woot-woot* I have been admiring a lot of beautifully wire wrapped cabochons online lately. Of course with my "I can do that" attitude, I signed up immediately! I wanted to jump in feet first into some huge elaborate project with swirling wire around a beautiful stone--- didn't quite work out like that. No, I started by making a ruler. A wire gauge ruler... but a ruler none the less. At least I was lucky to get a one on one lesson from a person who is very good at wire work, so I figured it would benefit me in the long run...*sigh* but a ruler? okokok... now that I finished that project, I admit, I do see now how beneficial it will be to me later... It is a lovely ruler if I do say so myself~

As my friends can attest, when I get into something... I am all in. I bought the tools, the wire and several different totes to carry it all. (I still haven't found one cute and large enough to suit my needs- yet) I have been to three classes so far and haven't made anything in the classes other than friends! (and the ruler) That being said, I have watched-- listened and yes, learned. Who knew? Right? The instructor passed out written directions to a bracelet everyone was working on. I took it home and created one of the links to the bracelet. Shown below with the yellow round stone. I only made one because I wasn't to keen on the design. I also glued some tiny polished rocks to an old cross that had previously been in a "scrap pile." I'll stick a dollar price tag on it and it will sell quickly. *wink*
With my feet wet, I decided to create some more on my own. I decided to create some free form wire wrapped stones. I figured there is no right or wrong way to do that. Right?... so I just winged it. I have a lot of polished rocks in my yard, so I rooted through them to pull out some small ones to play with. I managed to come up with a small bowl full~
Here are a few free formed wire wrapped stones I have made... so far. Here are the quartz crystals....
These ones below are a few of the rocks I had gathered from my backyard. The light gray one is a beach stone. 

Some more of the rocks I had in my back yard collection. I added some jewelry quality rhinestones to some of the swirls. Once I was finished with that, I had an idea to create tiny seed bead wire trees to hang on a necklace. I have a collection of over 20 large wire trees and the idea of making a tiny one to hang on a necklace sounded like a good idea. They are not really all that time consuming and even though I'm just winging it, I think they turned out pretty darn cute. I used small rocks on two of them and a glass cabochon on one.

The "Tree of Life" is very popular. So, I made some of those too.
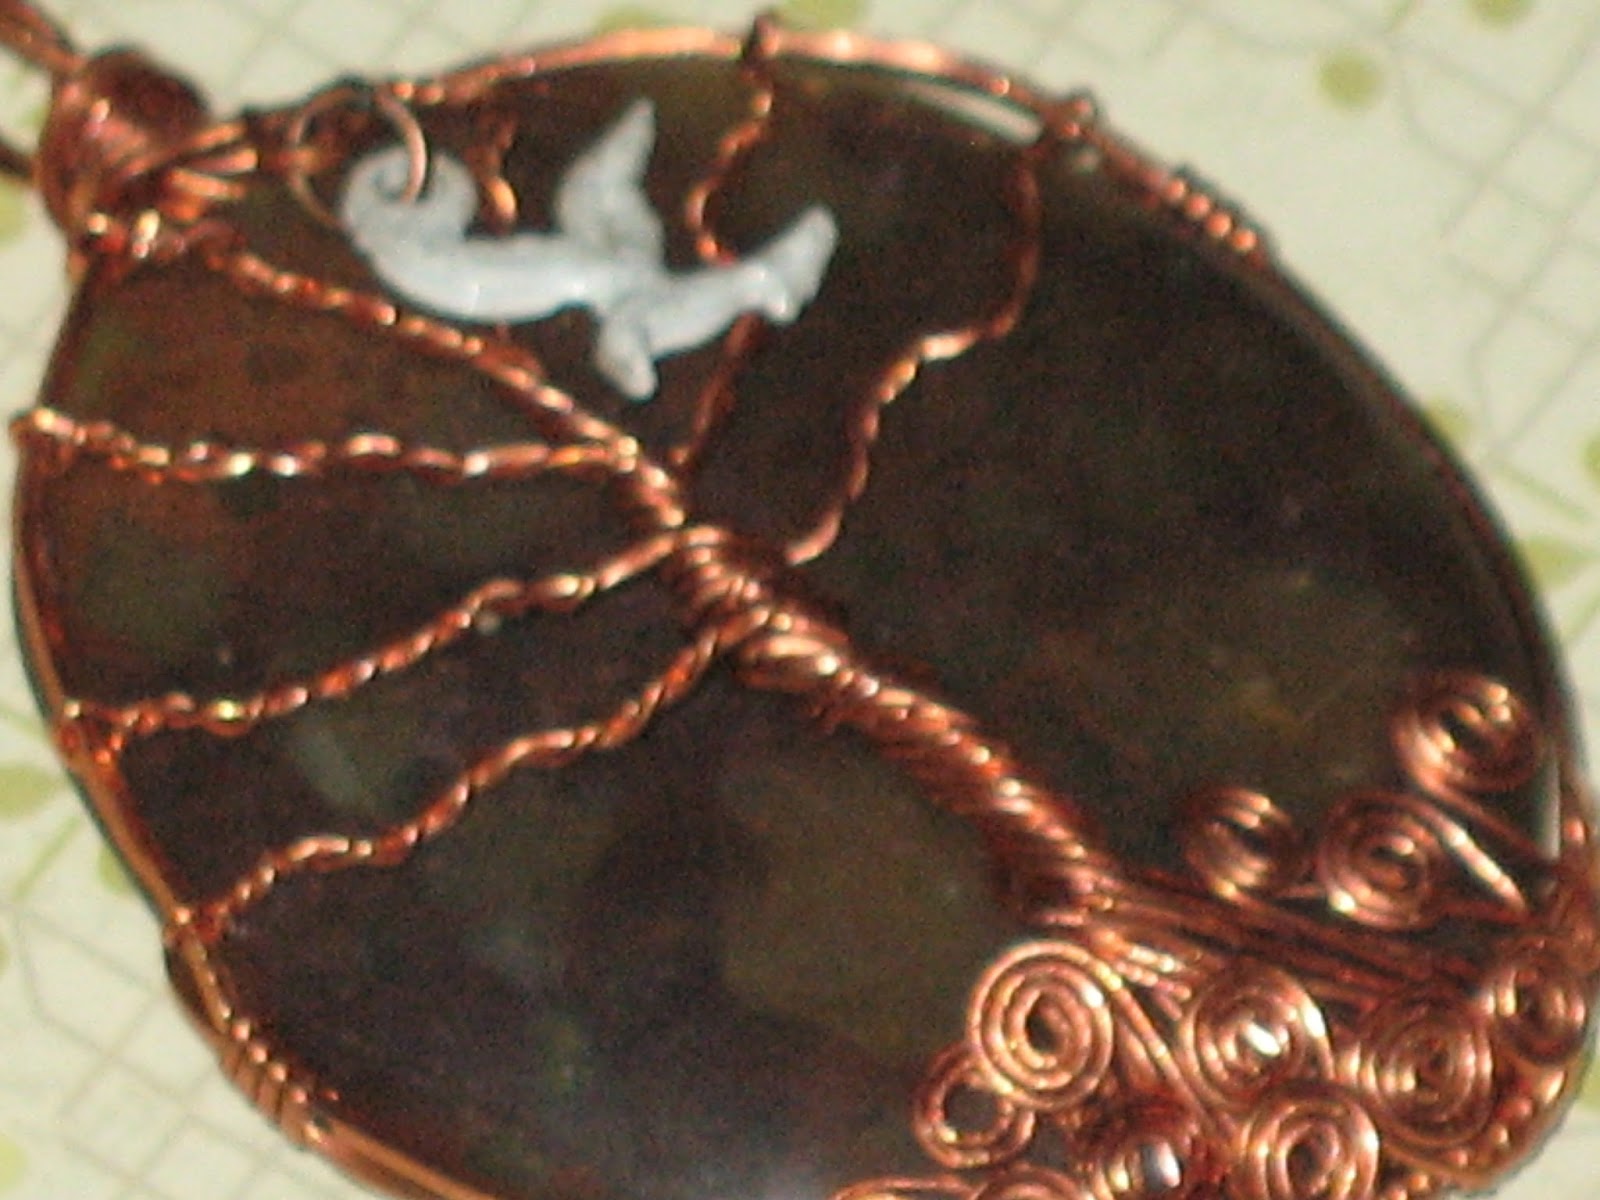
Here is a close up of the smaller of the two. It is not a perfect cabochon, it is just a flat polished rock. The rock is not perfectly balanced in its shape, but I think it looks pretty good considering I did this on my own. I added a tiny seagull charm to this one.

Watching the skilled artisans making beauty out of wire inspired me to give it a try myself. I created these two totally on my own... gasp.. unsupervised! The blue stone isn't a perfect cabochon. It has many different angled sides and it is faceted along the edge on both the top and the bottom of the stone. I like a challenge and wrapping this stone certainly was. 
I will take these into my next class so I can get some feed back on how I did. I know I am needing the basics to build upon. I admit it. BUT, once I get the basics, I'm going to be off and running! 

Along with the wire wrapping class, I am also taking Lapidary classes where I am going to be learning how to cut, polish and engrave stones. I have a lot of rock slabs that I have been buying over the years from estate sales, yard sales and the swap meet. I can cut all of those into cabochons to then use in the wire weaving class.
Like that isn't enough on my plate, I have also been taking Silversmithing classes as well. I am in the process of creating a silver ring with a bezel that will hold a small cabochon stone. I have always wanted to learn how to use a torch and solder metals. For now, the torch and all of the highly flammable liquids near by kinda scare the bee-gee-bees out of me, but I have a great teacher who assures me I most likely won't make anything blow up. So, I have that going for me. *wink*

There are many more classes that I am interested in taking as well. I will be taking the faceting classes and the lost wax casting classes too and any other classes that come up!
big hugs,