A few months ago when I was in Los Angeles I popped into a thrift store that I always frequent
when I'm there.... and purchased a small resin miniature domed house. I only paid $4.00 for this little resin house, what a deal! I thought it would make an adorable miniature house for a little Tinker Bell doll I have. The outside of this house needed a good scrubbing, as did the carpet of dust that had accumulated on the floor of the mini-house. Yuck.
There is a lot of detail in this little house-- that I figured just needed a few things done to it to bring it to life.
I painted the little mounded house to look like it was made up of rocks and dirt. I also added green moss, flowers and real rocks to the top of the domed house, along with some jewelry quality rhinestones for a little sparkle. For each window I
vewwy-vewwy carefully added some plastic to the inside of each window frame. That alone took me three days to create, due to the fact once each window was set in place it took a full 24 hours for the glue to set up.

I love how the windows were created to look like they were made with sticks....

I think the moss really makes the entire piece come to life.

Initially, I was going to create little bricks to hand set in place inside this little house--- but then I had an "ah-ha" moment when I was wondering what to do with a bag of glass seed beads I had recently bought for mere pennies--- use it for a flooring in the little house! I coated the floor with Modge Podge and poured in handfuls of beads and swirled it around until the floor was covered. Once the glued on beads had dried, I coated some Modge Podge over the top of the beads to help set them in place. So sparkly! I love it!

Once the house was painted inside and out and the floor was finished, I used E6000 glue to adhere the miniature house onto a thick substantial candlestick. Now it's coming together!
I had plans to fully load up this little house with all kinds of miniature goodies..... I have a lot of miniature stuff!!! Most of these items shown below would be fabulous in a little country store.....
Miniature Christmas stuff?
I've got that too....

But alas, everything just seemed to big for this little house! Skunked again! For now I just have a little stool turned into a table with a few small mini's inside the tiny house.
I am thinking of furnishing the little house with handmade items that I can control the scale on. Also, adding little things like a thimble for a seat, a little tin box for a bed... etc. That would be super cute!
I had to style Tink's hair so she looked presentable.... Gosh, why do they put so much hair on these little dolls? Below you can see how she looked before I fixed her hair.
She was a .25¢ find at a yard sale. I simply snipped off her pony tail, glued her hair to her head with Elmer's glue--- then rolled a little bun out of a few strands of hair from her pony tail--- and hot glued that sucker to her head. I also thinned out her bangs.

It is going to be fun to try different things inside this little house to get it furnished. Fun times, fun times~
Now, I'm on the lookout for a miniature store front and a little house I can make into Santa's workshop!
big hugs,
Cheryl


 I found a crochet pattern online, I think I have it pinned to one of my Pinterest boards, either under "Crochet" or "bookmarks" any~who, the little hat bookmark whipped up pretty fast.
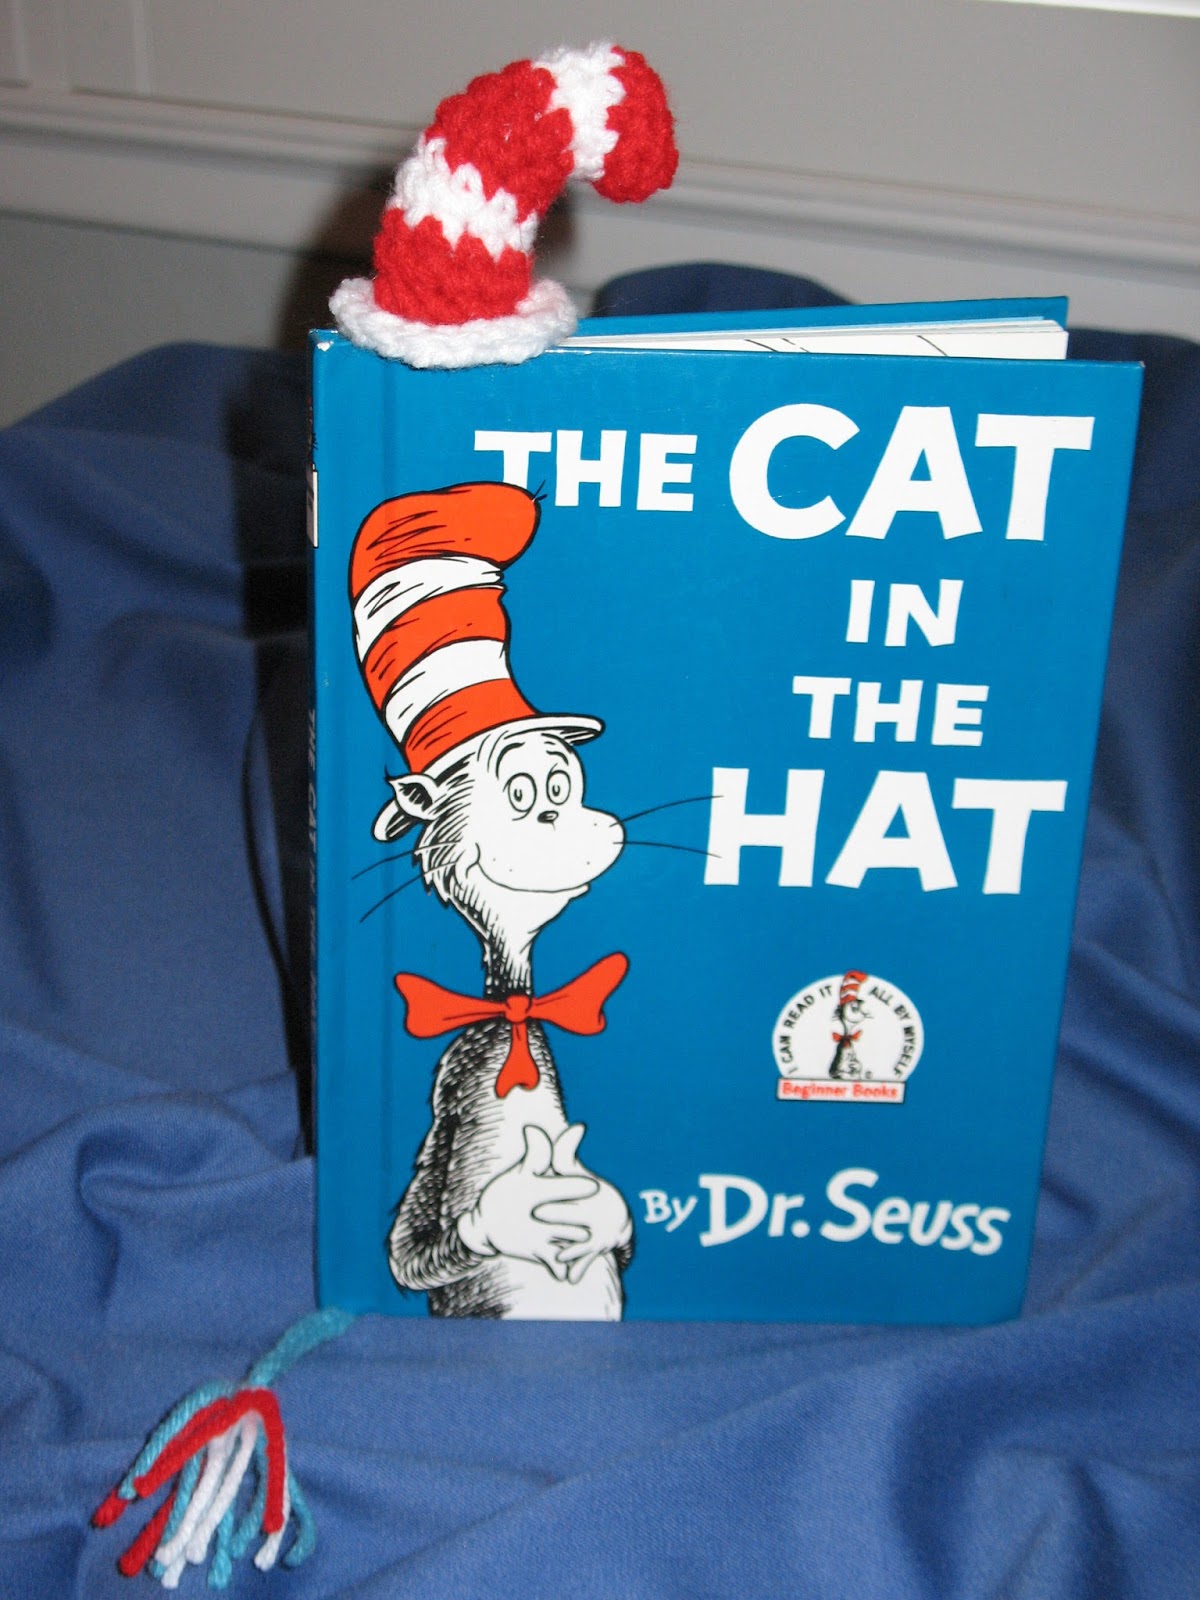

 So, of course, I had to make a bazillion myself to pass out to some of my friends...


 Here are instructions on how to fold an origami cup/Seed Envelope if you would like to make some yourself. You need to start off with a square piece of paper, I used an 8"x 8" sheet of card stock scrapbooking paper to get the size I wanted. I stopped at the fourth step shown below and glued a piece of a gold doily over the edge of the outer pocket. It really isn't a true pocket as the bottom isn't fully closed, but it is perfect to hold a Valentine :-)


 But alas, everything just seemed to big for this little house! Skunked again! For now I just have a little stool turned into a table with a few small mini's inside the tiny house.


 I used a little spray adhesive and glued on a piece of felt in place of the fusible interfacing that the company had recommended using. It worked like a charm! What makes them snap open and closed is two pieces of a metal tape measure that is encased in the top section of the bag. I think it turned out cute and it was easy peasy to make...


 On the flip side of each package, I added a list of the Girl Scout cookies that they are selling this year. This of course should help those that are not familiar with which cookies are being offered.