The tree stump with shelves is coming along nicely. Last post I showed the tree stump covered with masking tape-- the next step was a layer of paper. I don't get a daily newspaper anymore so I use brown paper lunch bags when I paper mache anything. I use heavy duty paper bags (from grocery stores) when I'm needing to add more strength to a piece. You can see in this photo that I did decide to add some lights. I couldn't find any out in the wild-- so I shopped my house and of course I found two ten light strands still new in the box in my garage. Yet, one more reason for me to get a new house with a three car garage *sigh* It wasn't that difficult to add the lights, but it was very-very time consuming.
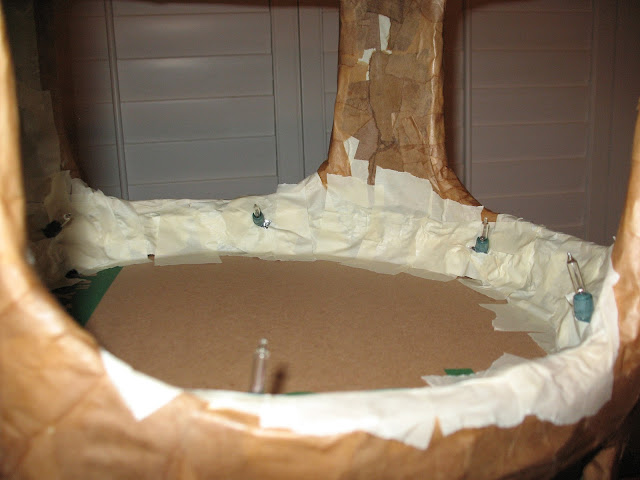 I had to cut holes in each shelf to feed the wires through-- and hide the extra bulk of wire in one wall all the way down the stump. It just needed more foil, tape and then the lunch sacks to cover it all up. Easy peasy.
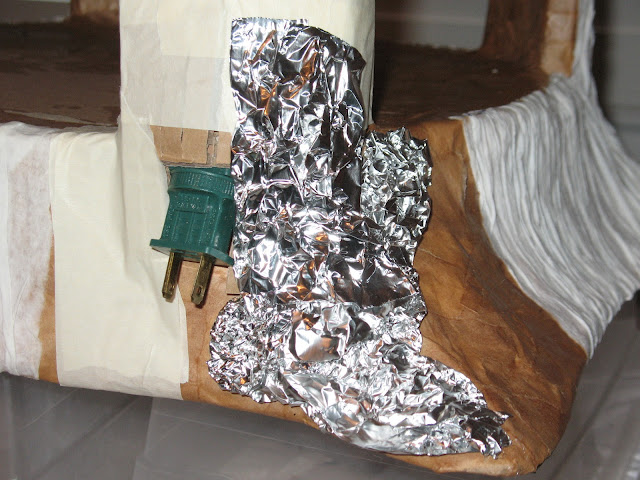
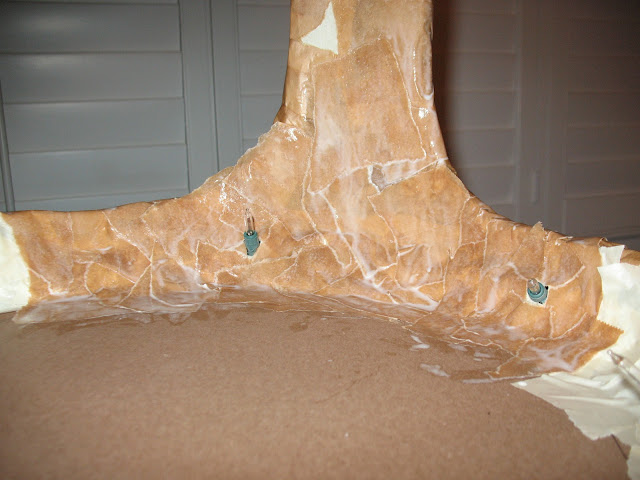 The base where the two plugs were joined was bulky so I had to build the stump root out a little bit more to help mask that part...
  I added a lot of cardboard over the top plug to hide that piece and now just the bottom plug is visible.
  The last step on the exterior was to add bark to the tree stump. I used paper towels dipped in white glue to create the trees bark texture.
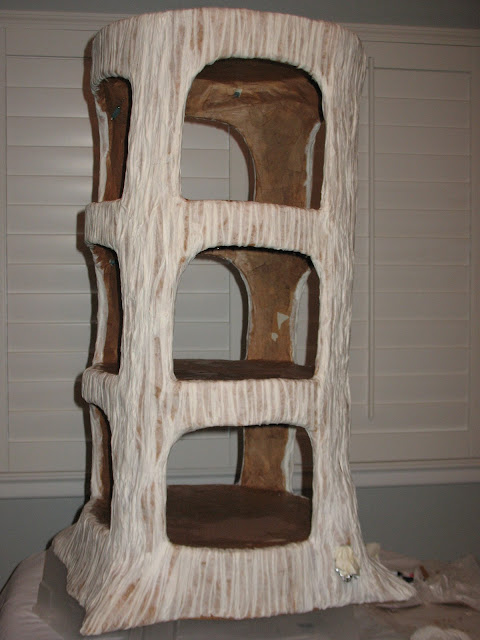
Seeing how the tree stump was almost finished, I of course, started a new project! Tiny little fairy houses made using small Pringle cans. 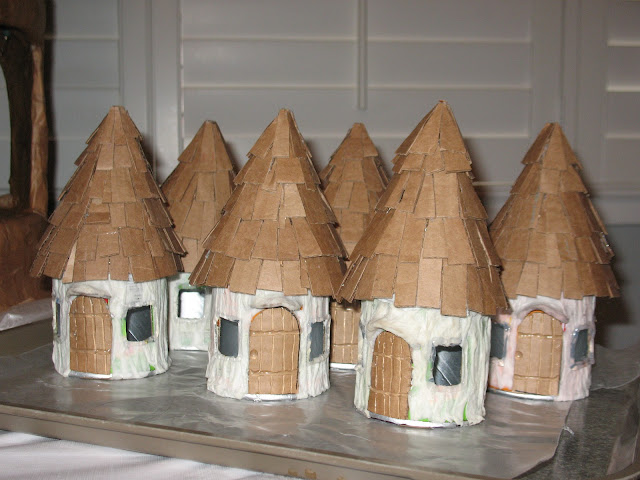 Once I made a bunch of those, it was back to the tree stump! On the inside of the tree stump I created a smooth wall surface using spackling paste.
  Next, I tore apart some Styrofoam cups to create a cobble stone floor... a quick coat of black paint..... and time to take a break from this project for a little bit!

I think I'll go play with the fairy houses that I started :-)


Lookin' good!
ReplyDeleteAre you able to easily change a bulb if it burns out?
ReplyDeleteIt looks amazing!
Yes, if the light bulbs burn out I can simply pull out the used bulb and insert a new one :-)
Delete