


The chocolate maple bars are made using a boxed brownie mix as the base, then you just add the maple frosting and of course, a layer of chocolate to finish them off.
Here is the recipe and the directions if your wanting to make your own~
Maple layer:
1/4 cup of light corn syrup
1/4 cup margarine or butter, softened
1/4 cup of light corn syrup
1/4 cup margarine or butter, softened
1 to 2 tablespoon of HOT water
2 teaspoons of maple flavoring
3 cups of powdered sugar
Optional: 1 cup of lightly salted dry roasted peanuts
2 teaspoons of maple flavoring
3 cups of powdered sugar
Optional: 1 cup of lightly salted dry roasted peanuts
Chocolate Topping:
One bag of chocolate chips, milk or semi-sweet (11.5 ounces)
One bag of chocolate chips, milk or semi-sweet (11.5 ounces)
1 tsp. of oil
Directions:
Make the brownies as directed on the box. I used a large pan, size 9 x 13--- I wanted a thin brownie base. While the brownies are cooling, mix up the maple frosting layer. You'll want to spread the maple layer on a warm brownie base to help the thick mixture spread evenly.
Make the brownies as directed on the box. I used a large pan, size 9 x 13--- I wanted a thin brownie base. While the brownies are cooling, mix up the maple frosting layer. You'll want to spread the maple layer on a warm brownie base to help the thick mixture spread evenly.
For the maple layer: Mix the corn
syrup, butter and maple flavoring until well blended. Next, beat
in the powdered sugar one cup at a time. The last cup of powdered sugar makes the mixture close to impossible to stir together! The filling will be thick! This is where you add 1 to 2 tablespoons of very hot tap water to help loosen up the frosting. Spread the maple frosting evenly over
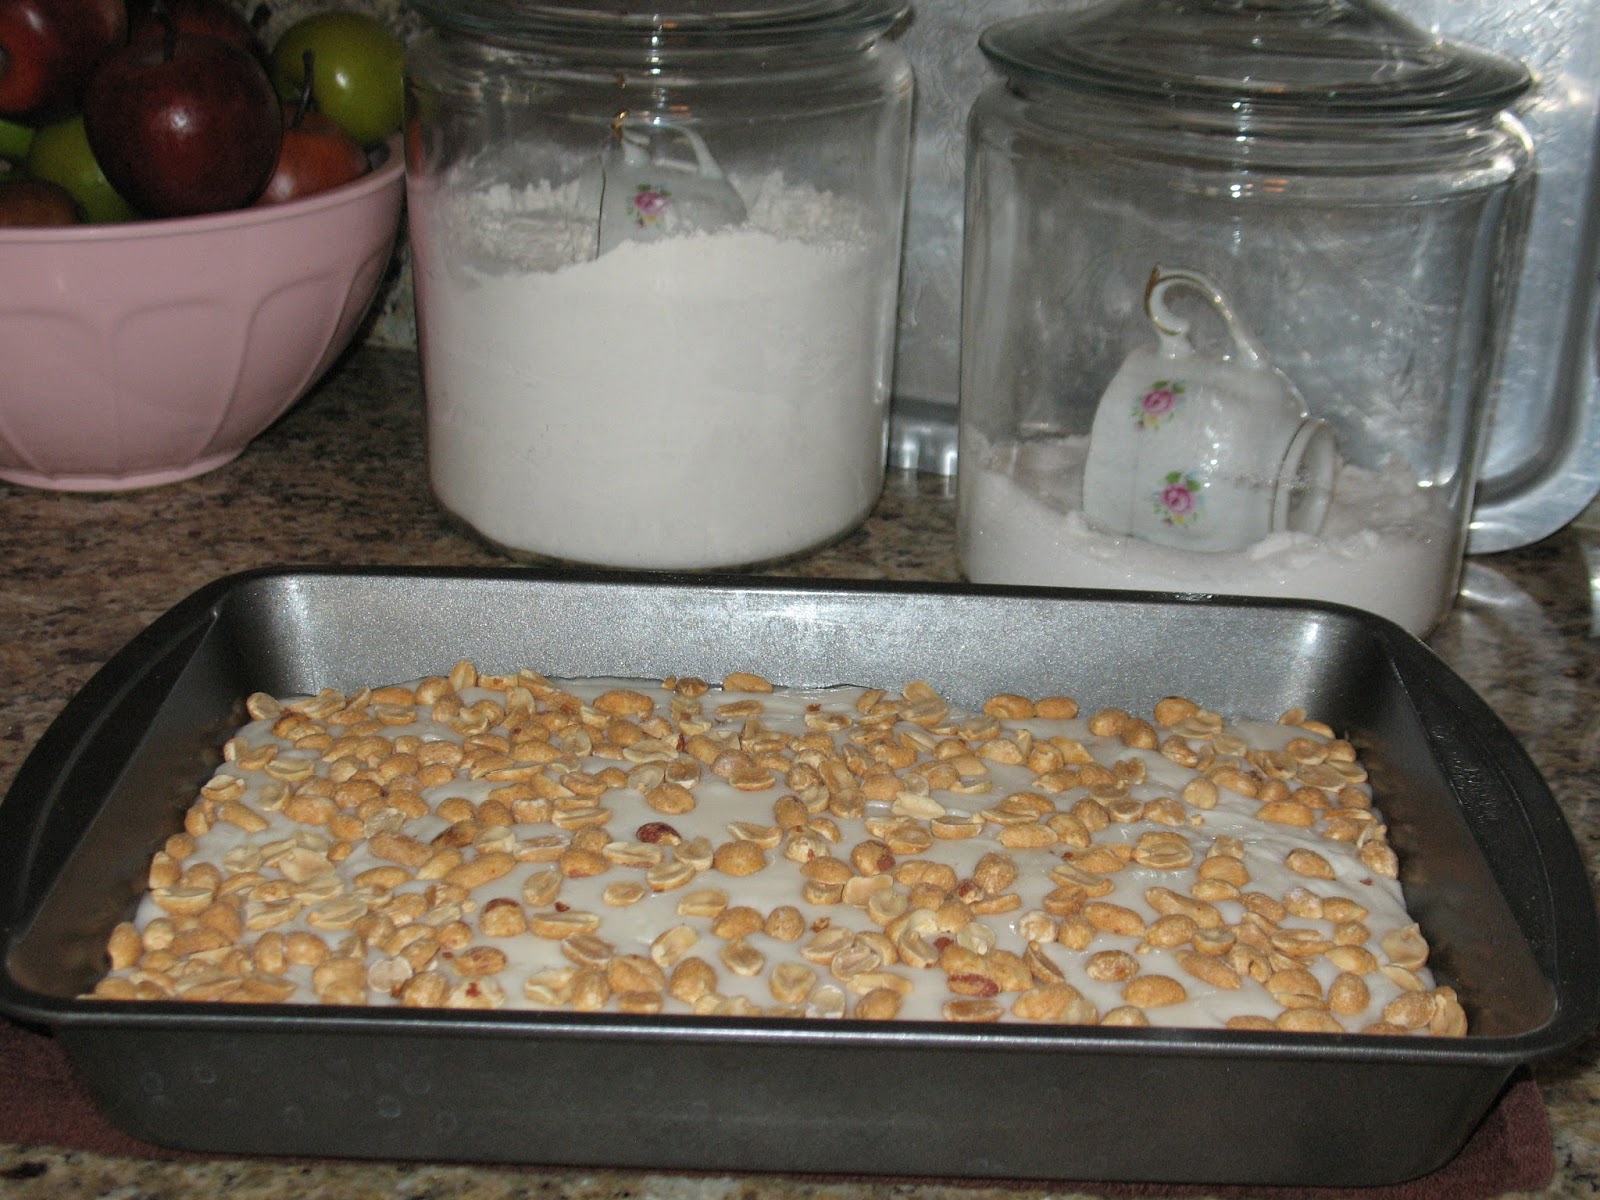
the still warm (not hot-hot from the oven) brownie layer, this too will help the thick maple frosting spread over the brownie. If your wanting to add the peanuts, do so at this point. Sprinkle the peanuts over the maple frosting and pat them into the frosting using the backside of a fork.
 At this point, I place the maple/nut covered brownie pan into the fridge to speed up the cooling time. When the pan of brownies has cooled add the chocolate!
I placed the chocolate chips and oil in a glass bowl and then sat it in a pot of bowling water stirring until melted. Once the chocolate has melted, spread the chocolate evenly over the peanuts. While the chocolate is cooling, I like to create little peaks in the chocolate by using the side of a spatula, you could also make a smooth chocolate surface....
 Refrigerate until the chocolate is firm, this
takes at least an hour. Lastly, cut the brownies into squares. I like to cut off the edges so that each piece has a uniform edge.... This isn't a necessary step, it is just something I prefer to do.... and for the extra effort to make your tray of treats look extra special your rewarded with all the crunchy bits of left overs. Score!
Refrigerate until the chocolate is firm, this
takes at least an hour. Lastly, cut the brownies into squares. I like to cut off the edges so that each piece has a uniform edge.... This isn't a necessary step, it is just something I prefer to do.... and for the extra effort to make your tray of treats look extra special your rewarded with all the crunchy bits of left overs. Score!
I also like to use paper bakery sheets to hold each little treat. It is especially useful when the treats you've made are a smidgen sticky.  Yummy!
 Yummy!
big hugs,
Cheryl
They look yummy. Am on low sugar/low carb again, so no treats like that.
ReplyDeleteI hope you have a very wonderful weekend and a happy memorial day.
Ramona
Broken Bit Mosaics
I did not need to see this post! As of June 1, I am off my gall bladder diet and that means I can bake again. Not that this is something I want to do much of because I've lost 12 pounds already so I think I should be careful.
ReplyDeleteBut you are SO getting me where I live. Maple ANYTHING!
Oh my that looks wonderful but I must resist, I have gone past thw weight I said I will not go there so I am not allowed any goodies until I get back down :)
ReplyDeleteEnjoy your weekend!
Thanks for the recipe. I am always looking for a great recipe to make for my daughter to take to work. Something that no one has ever seen before. I actually get messages from the guys she works with trying to bribe me to bake something. It's a hoot.
ReplyDeleteHave a great holiday.
xx, Carol