Pages


1/5/13

Wooden Spools of Thread

Like most people I know... I have a ton of wooden spools of thread. They look fabulous in jars on a shelf... but sometimes you've just got to dig into that stash and make something with them! With valentines day right around the corner, I thought it would be fun to use some of the wooden spools as bases to build upon.... time to make some spoolies!

I decided to use wooden spools with the thread still intact. I liked the pop of color that each one had, so I figured I could just build upon that. I added book pages from an old book from 1845 to the tops and bottoms of most of these, then I glued in place a gold Dresden medallion to each top. Lastly, out came the glitter. Red of course... If I make these again, and I probably will--- I won't add anything to the tops as it gets covered up!

I pulled out some of my vintage paper scrap cherubs... and cut apart some to use.

I glued the cherubs to flat wooden sticks to poke through the holes of the wooden spools. I've made these so that the cherubs can be pulled out of each wooden spool so that they can be stored easily....

Next, I created some pleated heart medallions to glue behind each little cherub....

I ended up making a total of seven spoolies in total....

 They were very easy to make....
 I glued the pleated hearts onto gold foil heart doilies....
 They really have a look & feel of being really old...
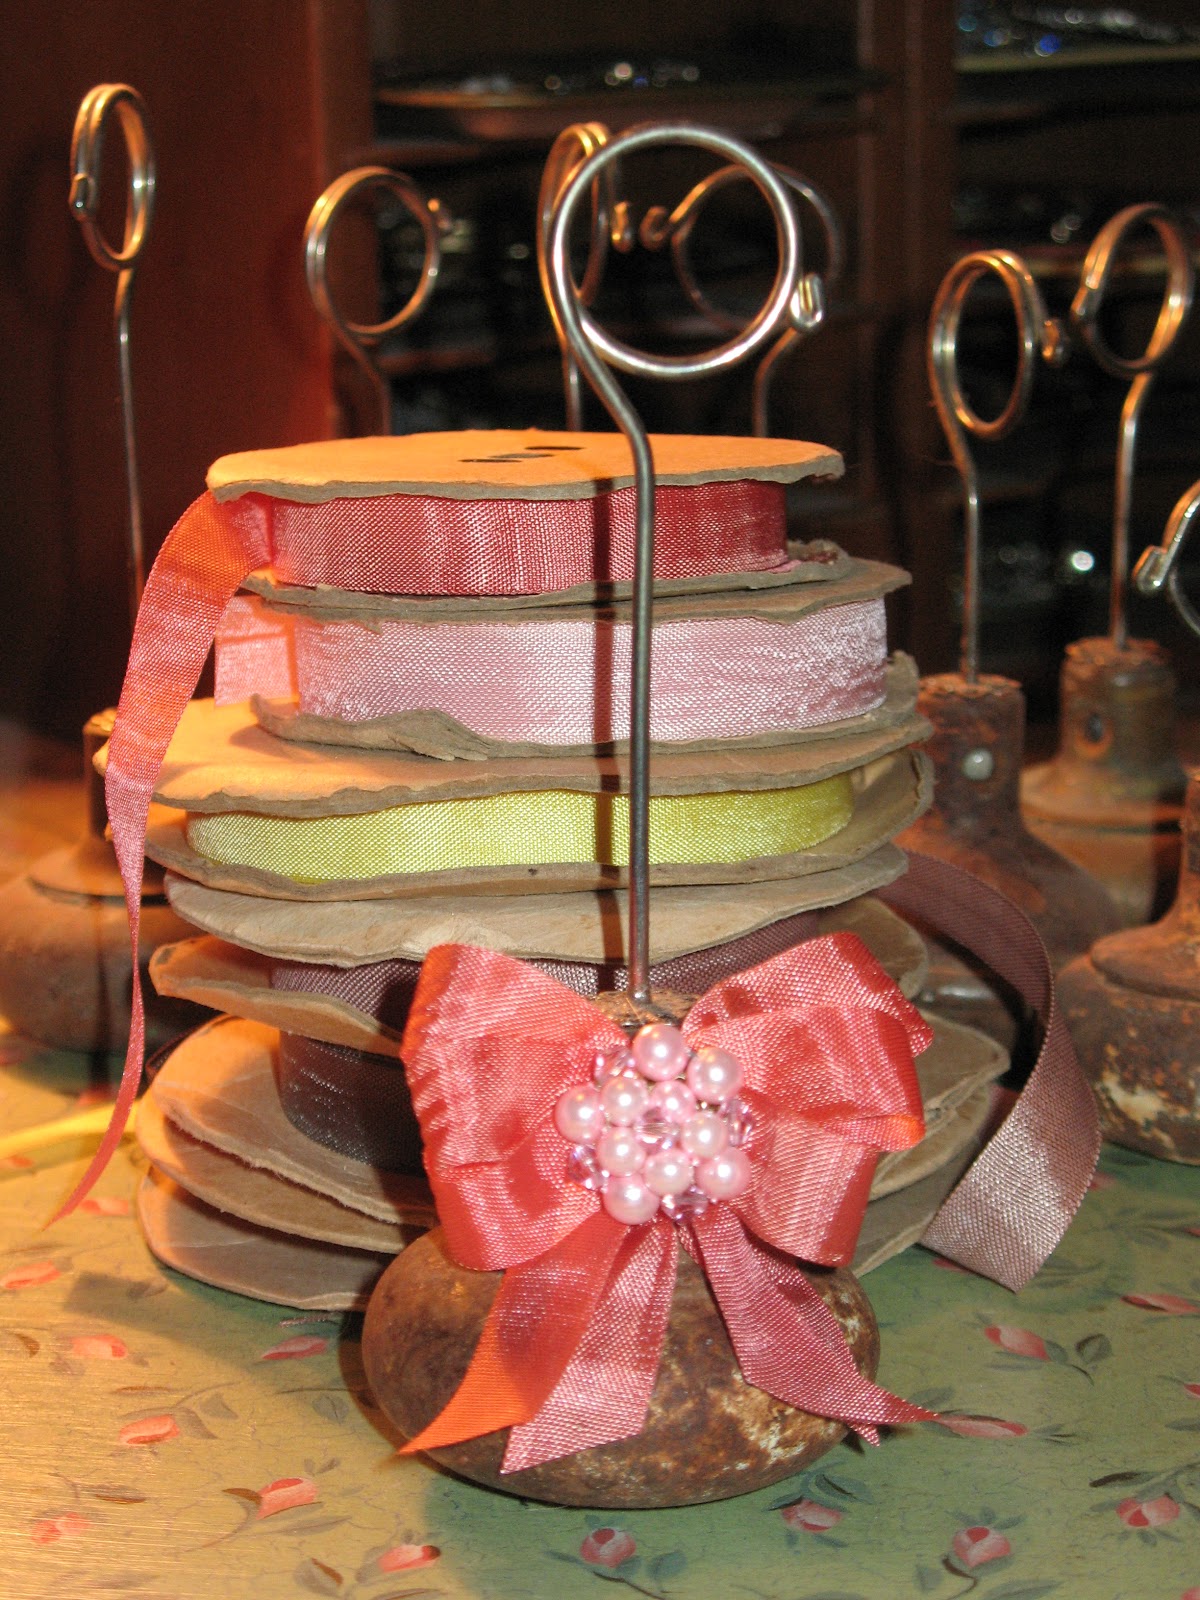
I may add some old lace or ribbon around the thread area on some of these....
 I used hot glue to add the vintage red velvet ribbon/lace piece onto the thread of this spool. I think I might use double sided sticky tape or even pin on the lace or ribbon on the others...
 This last one, I tried my hand at using sheet music to create the pleated heart. It is much harder to form than the card stock paper I used for the other hearts.
It feels good to be getting a head start on Valentines day:-)

1/2/13

Vintage Seam Binding

I pulled out some of my vintage seam binding stash to create some bows for 10 photo holders I made. I love the muted colors...

 I have a lot of vibrant colors too...

 After I made a bowl full of seam binding bows to play with, I also pulled out a drawer full of old earring bling....
ooooooooooooohhhhh sparkly....
Here all ten finished and lined up for a group shot. Easy peasy and oh so cute :-)

 One of these days they will be listed for sale over at "The Tarnished Crown"

12/30/12

Aaaarrrrggghhh Treasures!

While poking around on Pinterest looking for new ideas for this years upcoming pirate party... I spied this beaut~ I MUST HAVE THIS!

 Seeing that barrel sink was all it took to get me in the car searching for yard sales looking for 1.) a barrel 2.) a sink 3.) a facet....
Yard sales in the winter months are pretty much non-existent around here... the ones that do pop up--- they want top dollar for absolute jUnK.  The one thing you can count on? The swap meet. Oh yeah baby.... miles and miles of junk. *woot-woot*  The second to last row, what did I spy? Why two barrels of course! He started off asking $80.... I did the "sheesh-walk-away" and he said, "Come on back, I'll make you a deal." So for only $60.00 for both-- and free delivery to my house, they are MINE.
The guy next to him was selling a small stainless steel sink with the facet attached for $15.00--- I got if for $10.00. Sooooooooo I got all the fixin's for making a pirate barrel sink, I'm so jazzed! I think all the kids are going to be washing their hands whether they need to or not!

I also picked up some old watches...
and some jewelry to pull apart....
 along with some hearts too...
 This old painting was only $3.00, it was just to sweet to pass up.
 What a great ending to 2012 :-)


12/26/12

Barbie House

I gave the Barbie house that I have been working on for some time now to my grand daughter Chloe for Christmas.... (click on photos to make them larger)
The Barbie house started off looking like this, it was a $5.00 score at a yard sale....
 
I added hard wood floors to the top two floors and a brick floor to the bottom floor. I also gave the "house" a new exterior with a textured finish and the stones... and of course, I made two wooden doors too...

 Here is the bottom/first floor of the Barbie house, the living room....

 and the other side of the room...

 The second floor has the kitchen....
and the dining area....

The top floor is the bedroom area....
and of course the all important computer area....

Here is a list of blog posts which I've previously shared along with way of making this Barbie house. Some are tutorials and some I'm just sharing how I transformed things into Barbie Furniture:
Wicker Furniture, Shabby Chic Bedroom Furniture, Barbie Kitchen, Hutch, Wood planed Floor, Standing Bird Cage, Faux Brick Floor, Three tiered table, Cottage Doors, Faux Stones, Barbie House, Christmas Tree, Couch and Chair, Dress Form,
big hugs,

12/25/12

Merry Christmas!

I finally got all of my Christmas presents wrapped and stacked waiting to be loaded into the car...
 It is literally going to take me longer to load everything into the car than it is to drive to my daughters house to have everyone unwrap them! 
My grand kids have visited with Santa here in town several times this past month. They also had a chance to visit with him at Disneyland too. Such happy little kids... we are truly blessed!
 I want to wish all my dear bloggin' friends a very Merry Christmas and a glorious-joy-filled-glittery happy new year!
big hugs~

12/20/12

Easy Christmas gift

Instead of giving the usual gift card this Christmas, I decided to do something a little different. I took this fabulous image of Ralphie from "The Christmas Story" my fav.or.ite Christmas movie and worked my magic....

Now it reads:
I was going to make you a pan of fudge, 
but this time of year spare time doesn't budge.
So instead of fudge tied up with a bow....
I decided to just give you the dough.

I printed out the sentiment and used a glue dot to adhere it to a cookie tin.... The curling ribbon ended up looking like a hat on Ralphie, but I think its cute-- so its staying~

Once that was all done, the tin was ready for the dough...
 I wouldn't mind getting some holiday dough myself. *wink*

Mayan Calendar