 .... I'm still not sure I did it right lol... but, in the end I guess it was easier than I feared it would be...... but I'm not listing anymore until I know for sure!

 .... I'm still not sure I did it right lol... but, in the end I guess it was easier than I feared it would be...... but I'm not listing anymore until I know for sure!
 Seriously, its true! So many things to see that you start getting punching thinking.....
 I've just one thing to say.....
 There is no known cure except to just...
  At least stretch you legs once in awhile, you will be surprised how long you'll be sitting there looking at all the pretties. If your wanting to check it out-- come visit my bulletin boards. If you see something fabulous anywhere online you'd like to save a photo of---- pin it to one of your own bulletin boards. Ohhhhhhhh-m-geeeeeeeee your going to love & hate the hours and hours your going to be on it. Guaranteed! When you try to sign up, they put you on a waiting list of sorts. I know right? I can "friend" you in faster, I'll get you hooked up! *NOTE* I need your email address to invite you. Some of the comments left on my blog have a "no reply return email address-- so make sure I can get a hold of you if your wanting to be included in the fun!
 A lovely house shaped bird house.
 Linens and a vintage Virgin Mary wall plaque.
 Small figurines from tea boxes... to add to my collection.
 Also, a magnifier and one of those old repurposed glued open books (soon to be a halloween spell book)
 Also, this very heavy wooden antique mirror.... $1.
 Lastly, some sewing things. All of this and some lace trim and an old tin for only ONE DOLLAR. *gasp* There are 3 pair of pinking shears and one pair of scalloped scissors---- all sharp as the day they were purchased! A jar full of super thick pins, sewing needles and small screw drivers....
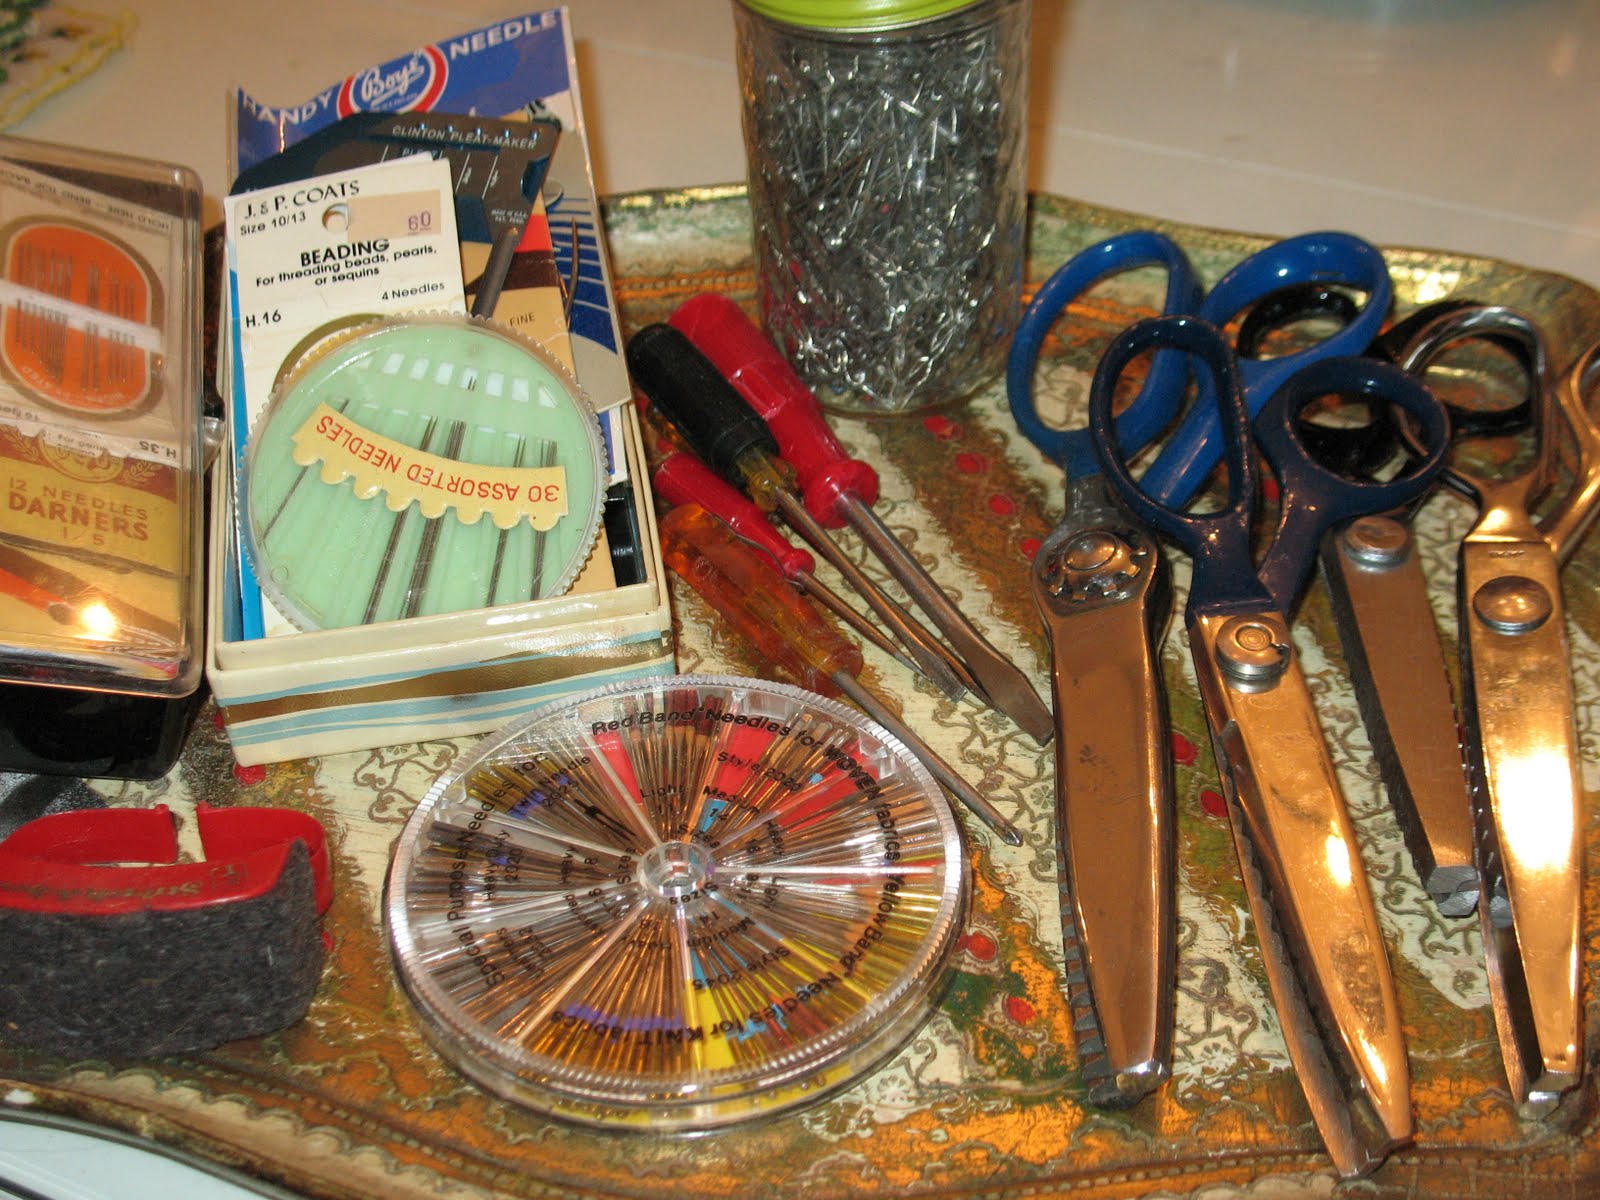 and--- enough sewing needles to last me literally my entire lifetime... and I plan on living to be 100---
 Who knew it wouldn't be as easy as I thought it would be. *sigh* It did help in keeping the drill straight & steady-- but I did have to apply a lot of pressure to drill the holes into the dominoes.
 I don't know what made me think it was going to be easy-peasy, wishful thinking I guess! I think I drilled about 30 of these big dominoes--- only 5 didn't come out perfectly--- the holes being offset just a smidge~
 Here are some smaller dominoes all finished, you can see the size difference between the two.
 I like how they turned out... I need more ;-)
 I kept adding tissue paper until the area was covered.
  Here it is all painted to look like faux stone on the outside of the Barbie house. The pink window frame will be put on later-- once I've decided what kind of curtains I'm going to use.
 I did the same treatment for the sides of the house as well.
 2.) Added tissue paper...
 3.) Painted everything~
 Next, I'm going to be working on creating a wood floor for the second floor of the house. I was lucky to come across a bag full of thin wood strips that measure 7"x1/4"....
 immediately I thought of a wood floor for a dollhouse.
 Stay tuned for that :-)
 Firstly, I cut a piece of illustration board to fit completely in the space I was making the bricks for. (You can purchase illustration board at any art supply store-- runs about $6 a sheet)
 I drew lines every one inch and cut those out using my paper cutter.... then I cut those inch long strips into 1/4 inch length to create the small bricks, again using my paper cutter. So the actual brick size is 1' x 1/4 inch in size. With a large pile of pieces cut to size, I ran several long lines of glue down some paper and glued the "brick" down so that I could easily paint them.
 Once the glue dried, I used terra cotta, black and white paint which I pounched onto the bricks using a stencil brush.
 The final step is to seal the newly painted illustration board. You can use a spray gloss or you can paint on a glossy finish. This step is important because when you grout the brick, using real grout, it keeps the cardboard from falling apart.
 Then I just glued the brick into place on the floor of the barbie house.
  I haven't grouted the brick into place yet. I am wanting to make some kind of planter for both sides of the door way. So I'm going to wait until I figure it out :-)

 At the monthly meeting I attend, every member has to wear a name badge, this is the one I've made to wear this evening....
  I'm going to make a different name badge for each meeting. We meet once a month... I can do 12.... I think. Here is last months name badge.
 Ahhhhhhhh sugar cookies....
 Please feel free to grab yourself a virtual handful.....
 This one is my favorite out of this batch~
 here are some more~
 and another...
 and another...